Clean Debian Etch Install
My first Linux install was actually a BSD install of OpenBSD and I was quite impressed that nothing was installed except for the operating system. I am now minimalist and when installing operating systems this principal works to my advantage. The ideology is: you only install what is needed and nothing more, thus reducing the surface of attack and lowering wasted process time. So I have put a guide together that was inspired by the Linux how to for “The Perfect Setup – Debian Etchâ€. This guide was created with screenshots from VMware.
- Download the latest current build from the Debian website http://www.debian.org/distrib/. You’ll only need to download and burn the first ISO for CD1, since all the other CDs contain packages that can be downloaded via the ‘apt-get’ command.
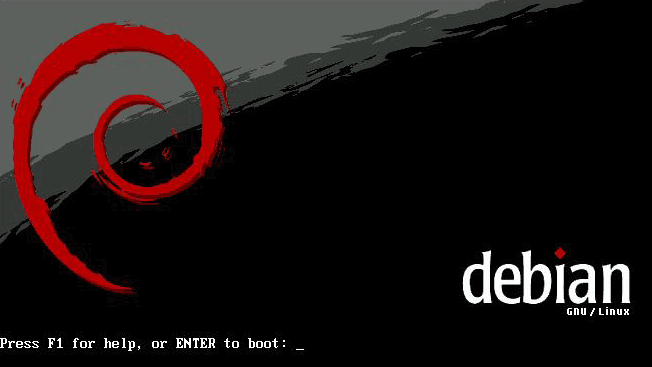
- Insert the CD and set your BIOS or ‘first boot’ menu to boot from CD. As the CD spins up you will be brought to a prompt with the Debian logo. Debian Etch defaults to install the Linux 2.6 kernel so just hit enter.
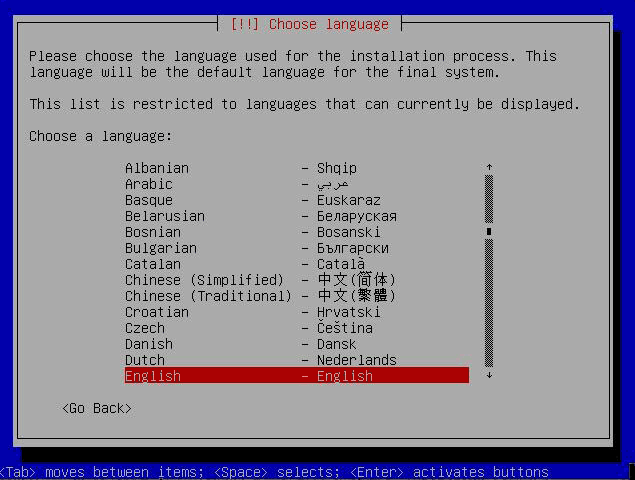
- The ‘Choose language’ screen will appear, select ‘English’ or your preferred language.
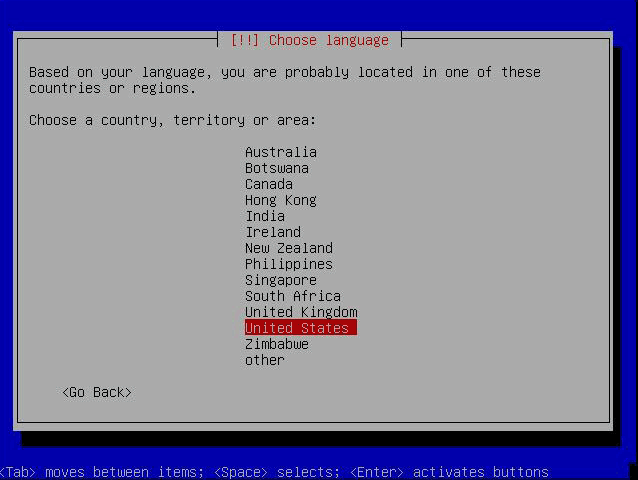
- The ‘Choose country or region’ screen will appear, select ‘United States’ or your preferred country.
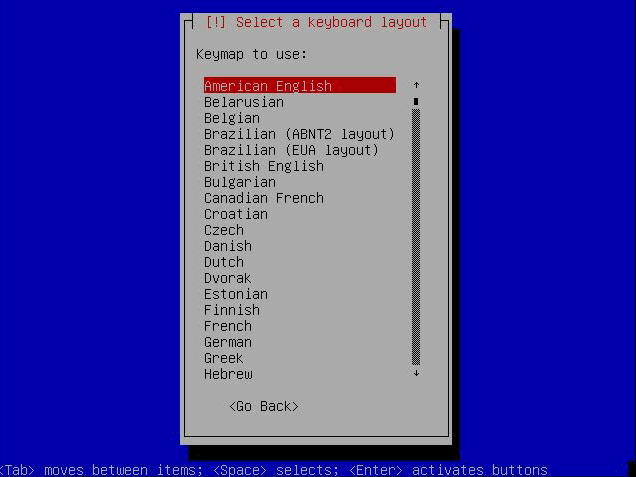
- The ‘Select a keyboard layout’ screen will appear, select ‘American English’ or your preferred layout.
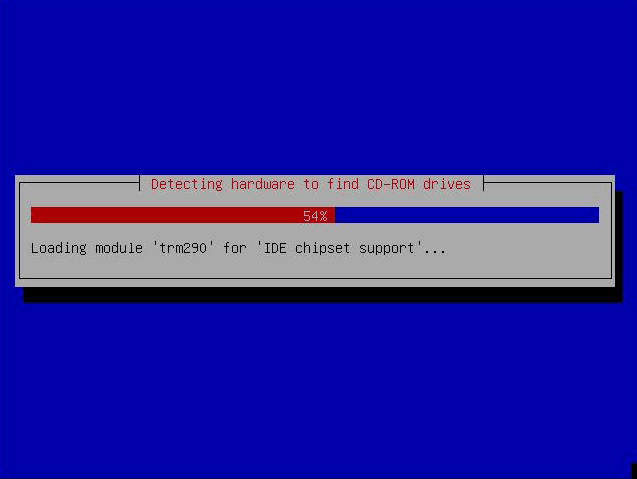
- The pre-installer will start to scan your hardware, scan the packages available on the CDROM, load the components of the Debian installer, then detect and configure the network with DHCP if detected.
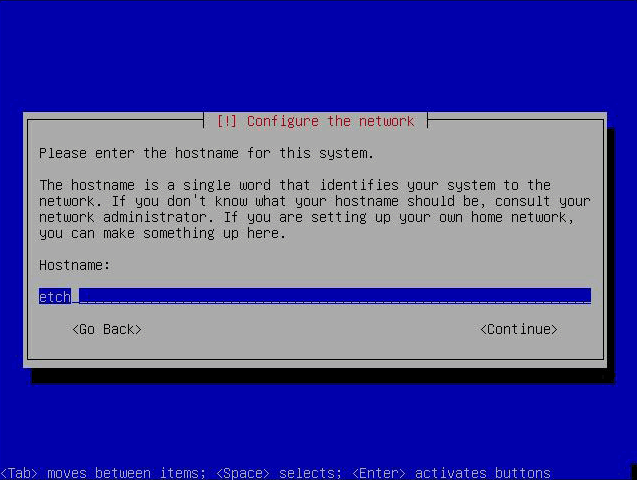
- You be prompted at the ‘Configure the network’ screen, were you will be asked to select a hostname for your system.
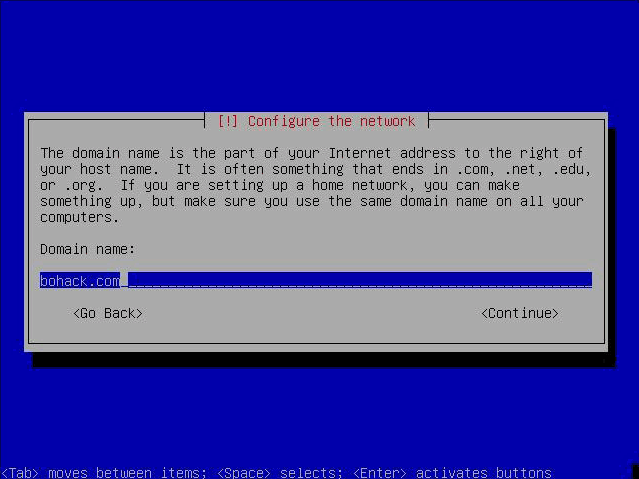
- Then you’ll be prompted with the ‘Domain name’ prompt, were you will select your domain name for your system.
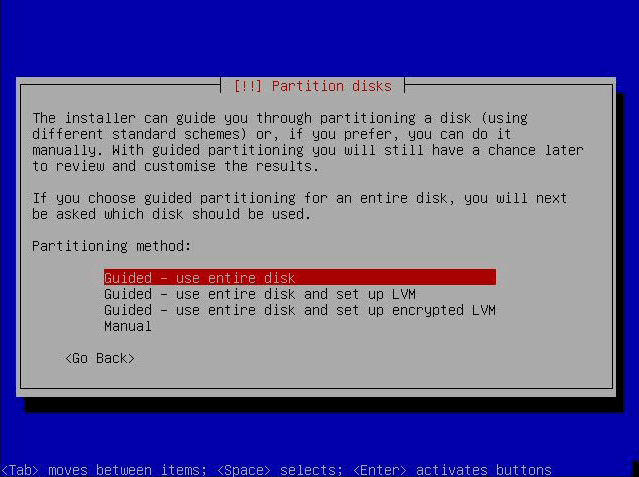
- The installer will detect all disks and start the partition utility. It is preferable to select the ‘Erase entire disk’.
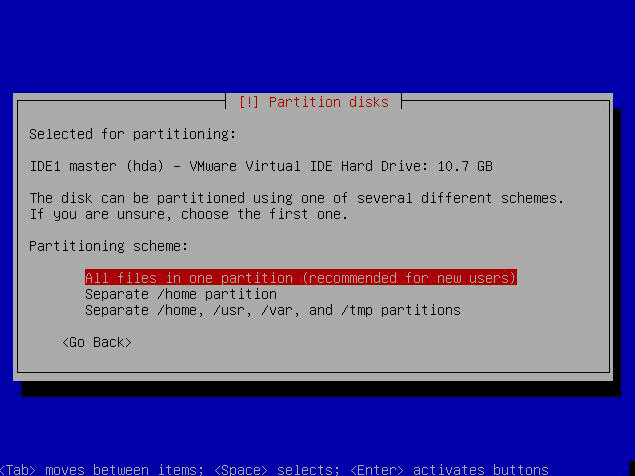
- The next prompt will ask you for a partitioning scheme, again it is preferable to select the default of ‘All files in one partition’.
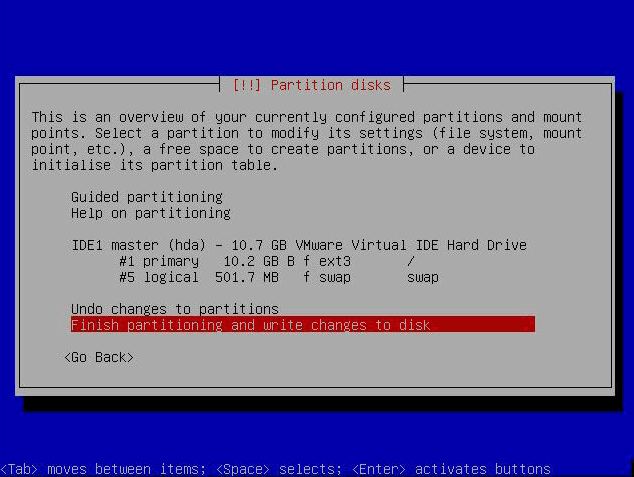
- You will then have a chance to confirm your selection and ‘Finish partitioning and write the changes to disk’.
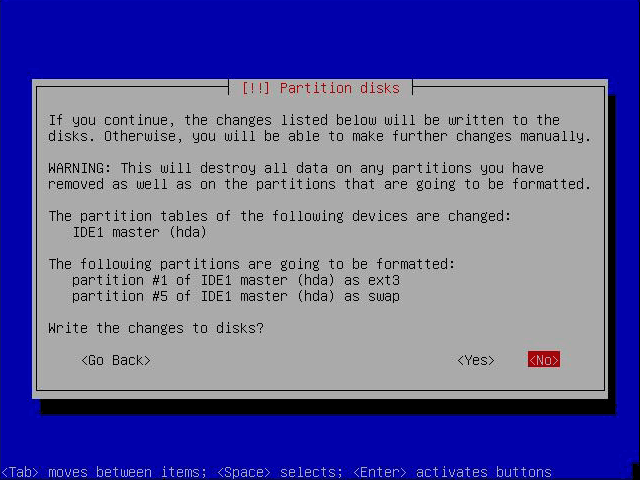
- You’ll be prompted again to write the changes, select ‘Yes’ the default is ‘No’.
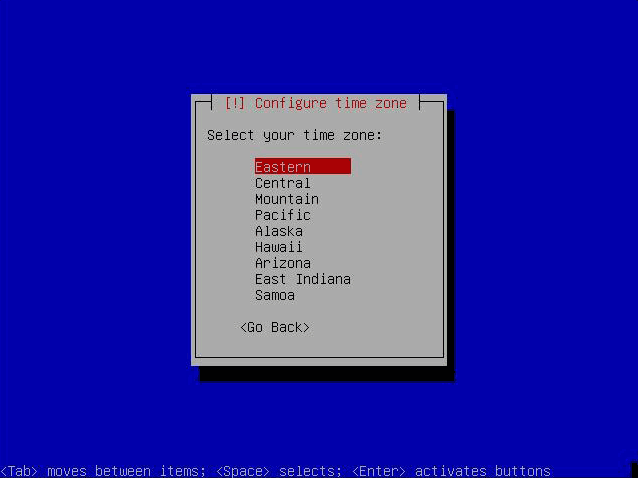
- The installer will ask for your time zone, enter the desired time zone.
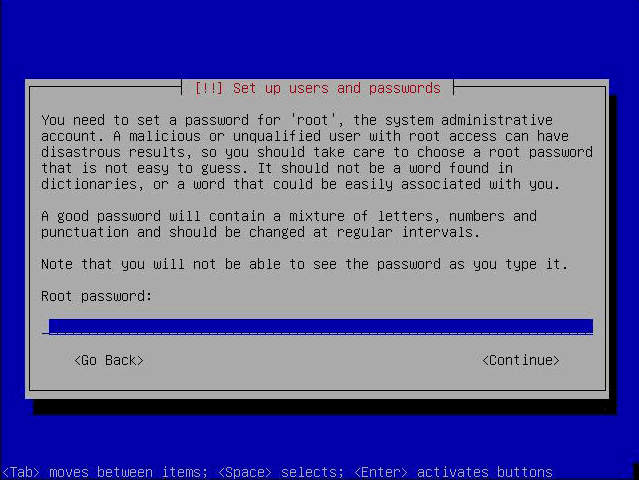
- The installer will ask for the root’s password (privileged user account).
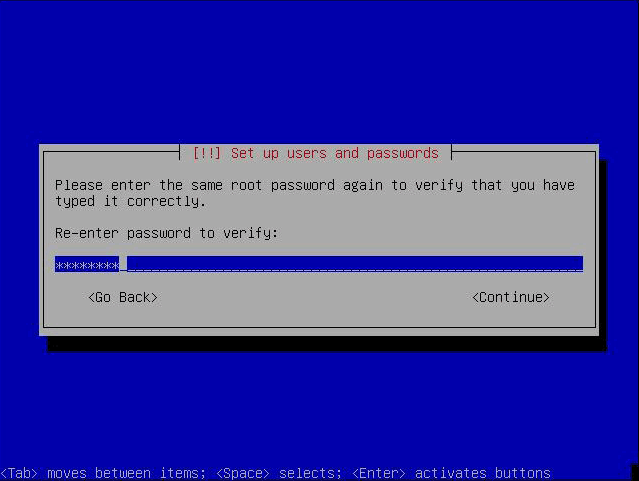
- You will need to type the password again for confirmation.
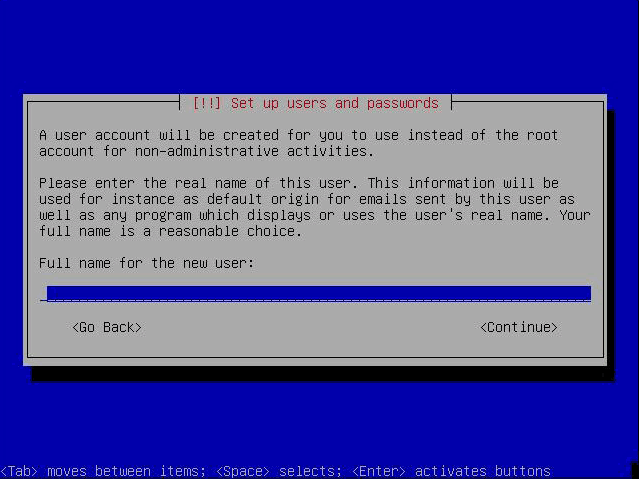
- You will also be required to create an initial user (non-privileged user account) account.
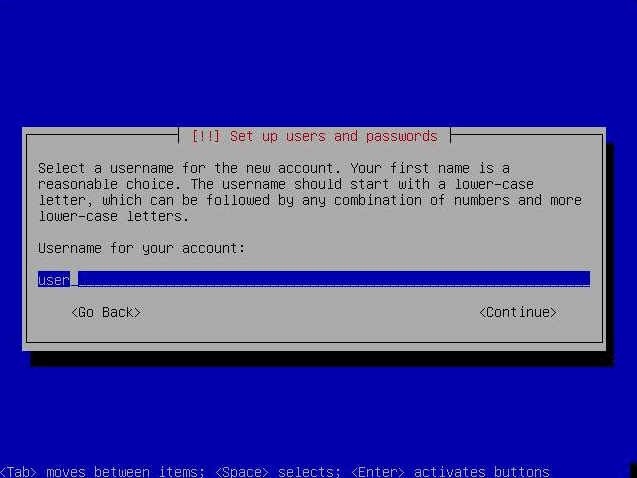
- You will need to supply a login name for the account.
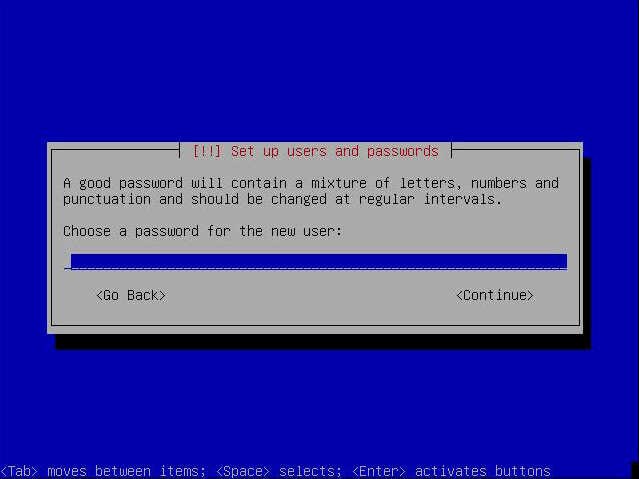
- Set the password for this user and confirm it like the previous account.
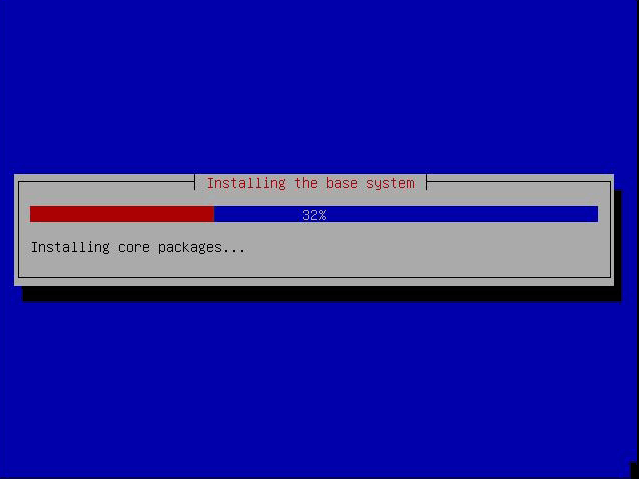
- The system installer will begin installing the entire system now.
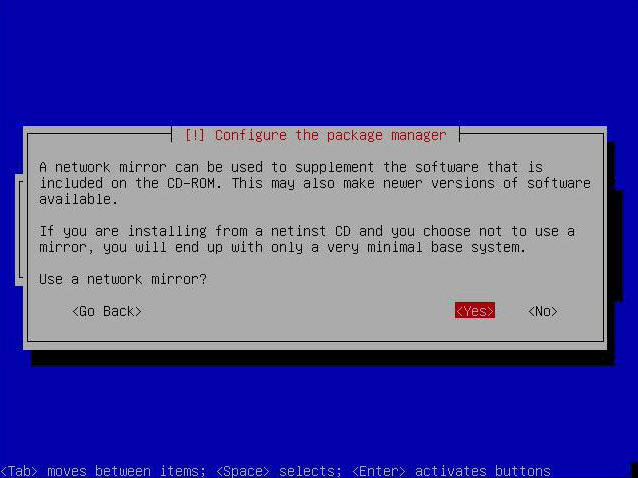
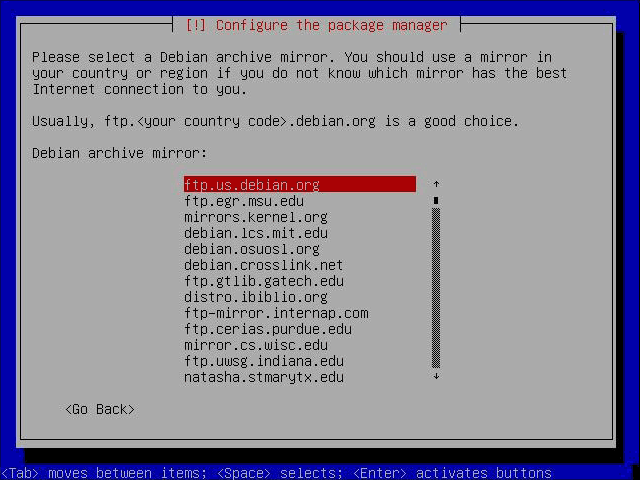
- The package manager will now require configuration, select ‘Yes’ for a mirror.
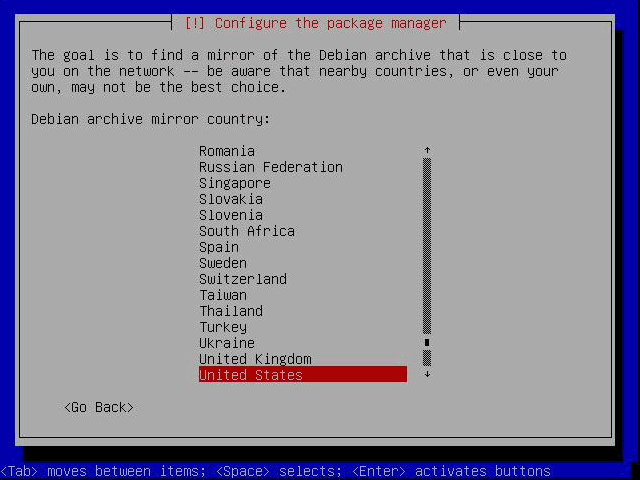
- Choose ‘United States’ for the mirror’s country or your country.
- Choose ‘ftp.us.debian.org’ or the first mirror that appears for you prior selection.
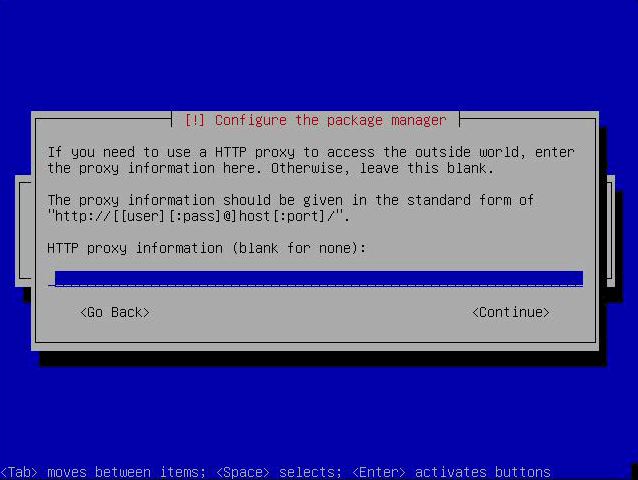
- Select ‘Enter’ if you are not using a proxy.
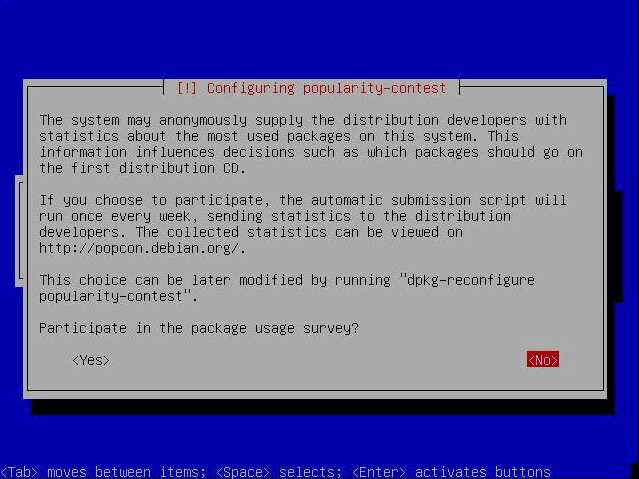
- The developers ask that you participate in a feedback survey, for this how-to we will answer ‘No’.
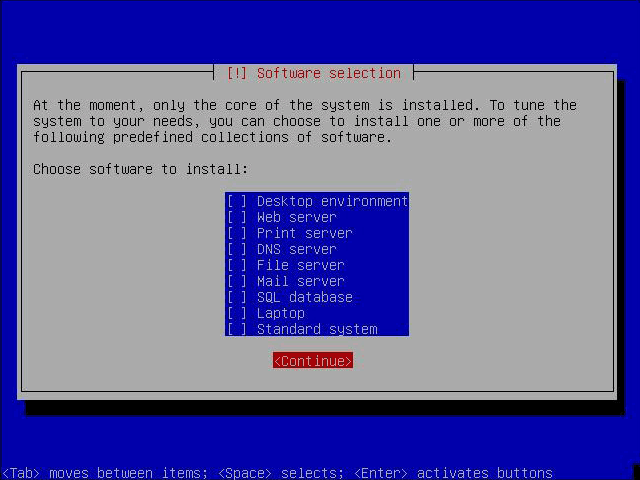
- Unselect all software using the spacebar and arrow keys and select ‘Continue’.
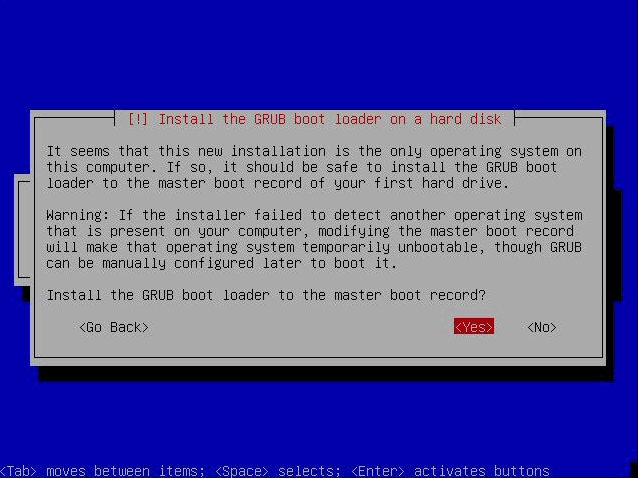
- Answer ‘Yes’ to the Grub loader screen, this will install the boot manager of Grub on the system; this is used for emergency purposes.
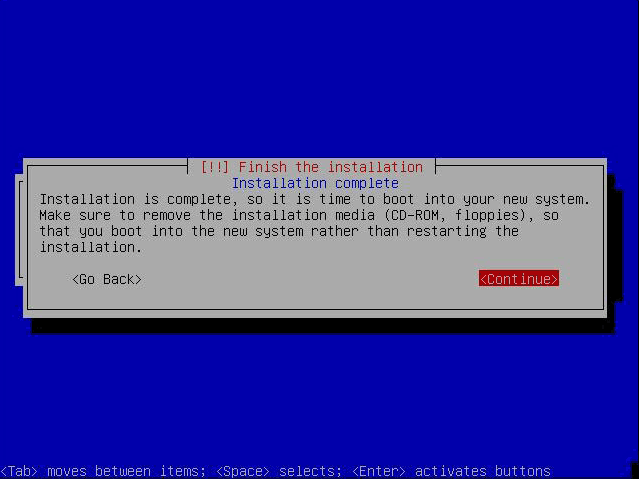
- Finish the install by selecting ’Continue’.
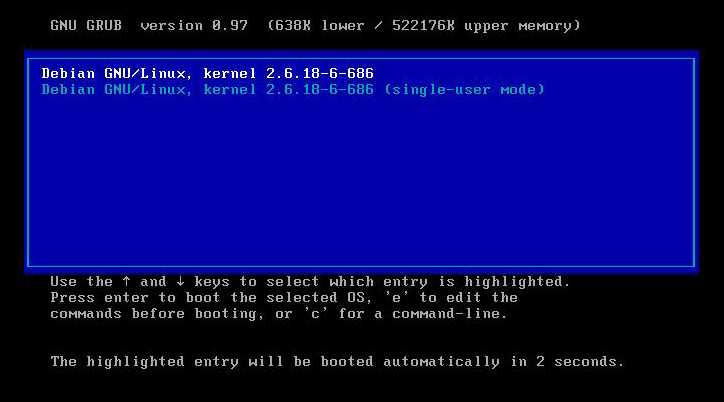
- You will reboot and see the Grub boot loader.
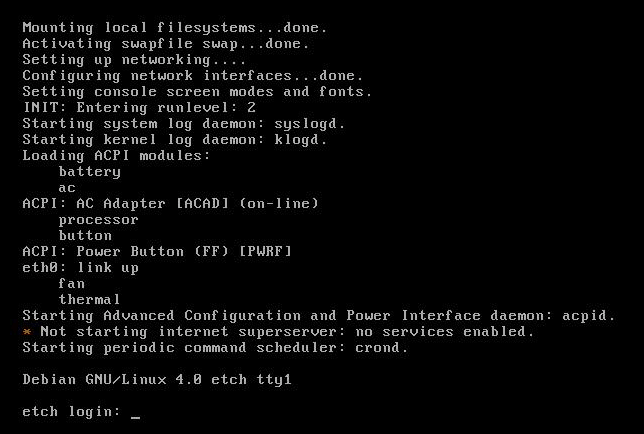
- You can now login as ‘root’ with the password you supplied for ‘root’.
- Edit ‘/etc/network/interfaces’ by typing:
nano -w /etc/network/interfaces# This file describes the network interfaces available on your system
# and how to activate them. For more information, see interfaces(5).# The loopback network interface
auto lo
iface lo inet loopback# The primary network interface
#auto eth0
#iface eth0 inet dhcpauto eth0
iface eth0 inet static
address 192.168.1.2
netmask 255.255.255.0
network 192.168.1.0
broadcast 192.168.1.255
gateway 192.168.1.1 - Set the resolver for proper DNS servers.
nano -w /etc/resolv.confsearch foo.com
nameserver 192.168.1.3
nameserver 192.168.1.4 - Next you will need to restart the network component.
/etc/init.d/networking restart - Add your new static IP to the hosts table.
nano -w /etc/hosts127.0.0.1 localhost.localdomain localhost debian
192.168.1.2 debian.foo.com debian
# The following lines are desirable for IPv6 capable hosts
::1 ip6-localhost ip6-loopback
fe00::0 ip6-localnet
ff00::0 ip6-mcastprefix
ff02::1 ip6-allnodes
ff02::2 ip6-allrouters
ff02::3 ip6-allhosts - Set the system’s hostname.echo server1.example.com > /etc/hostname
/bin/hostname -F /etc/hostname - Install some needed software packages and services.apt-get install wget bzip2 rdate unzip zip ncftp nmap lynx fileutils dnsutils
apt-get install tcpdump less make tftp rdate file gcc g++ ssh - Sync the time with an atomic clock.crontab -e
# update time with time.nist.gov
0 3,9,15,21 * * * /usr/sbin/rdate time.nist.gov | logger -t NTP - Set up the ‘bashrc’ file.nano -w /root/.bashrc
# ~/.bashrc: executed by bash(1) for non-login shells.
export PS1=’\h:\w\$ ‘
umask 022# You may uncomment the following lines if you want `ls’ to be colorized:
export LS_OPTIONS=’–color=auto -h’
eval “`dircolors`”
alias ls=’ls $LS_OPTIONS’
alias ll=’ls $LS_OPTIONS -l’
alias l=’ls $LS_OPTIONS -lA’# Some more alias to avoid making mistakes:
alias rm=’rm -i’
alias cp=’cp -i’
alias mv=’mv -i’# Bohack’s stuff
alias nano=’nano -w -K’
alias pico=’nano -w -K’
alias ptree=’ps axf’PS1=’\[\033[36;1m\w \[\033[35;1m\h \[\033[0m\$ ‘
export PS1
export GREP_OPTIONS=”–color=auto”
TERM=xterm-color
export TERM
cd /
Now that we have an installed and running system we need to tweak a few settings. The network was installed and DHCP had been automatically configured, however since this will be a server DHCP is not the right choice; we will need to manually configure an IP address.
Done! You now have a minimal install of Debian as a clean install. Don’t forget to do an ‘apt-get update’ and an ‘apt-get upgrade’, to install any major/minor updates.
April 22nd, 2010 at 12:58 am
Wow, Awesome post – Clean Step by Step Debian Etch Install | Bohack was a wonderful read. I’m such a newbie when it comes to all this, Thanks for this!
September 17th, 2010 at 8:00 pm
It is sweet that you blogged about this. I found you on google and I had been searching for info about this. Nice blog, thank you for the info. I will return to check for new info